|
|
|
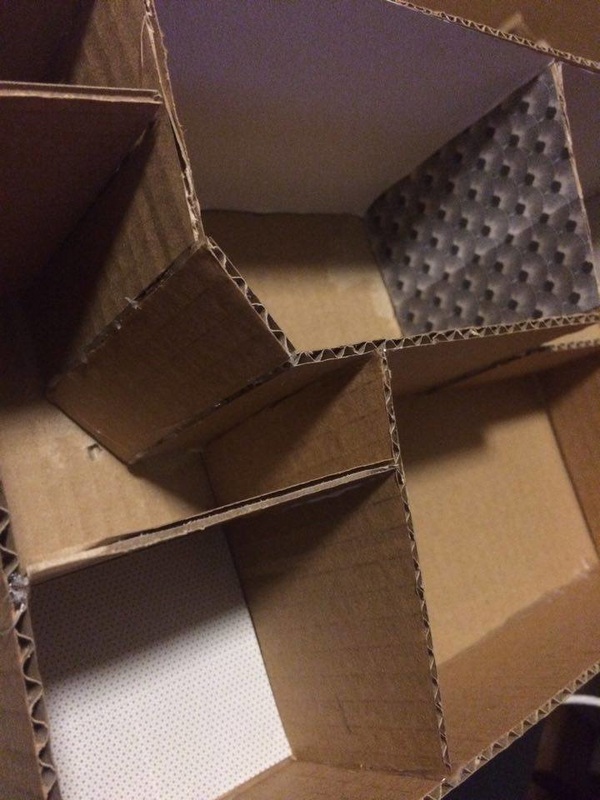
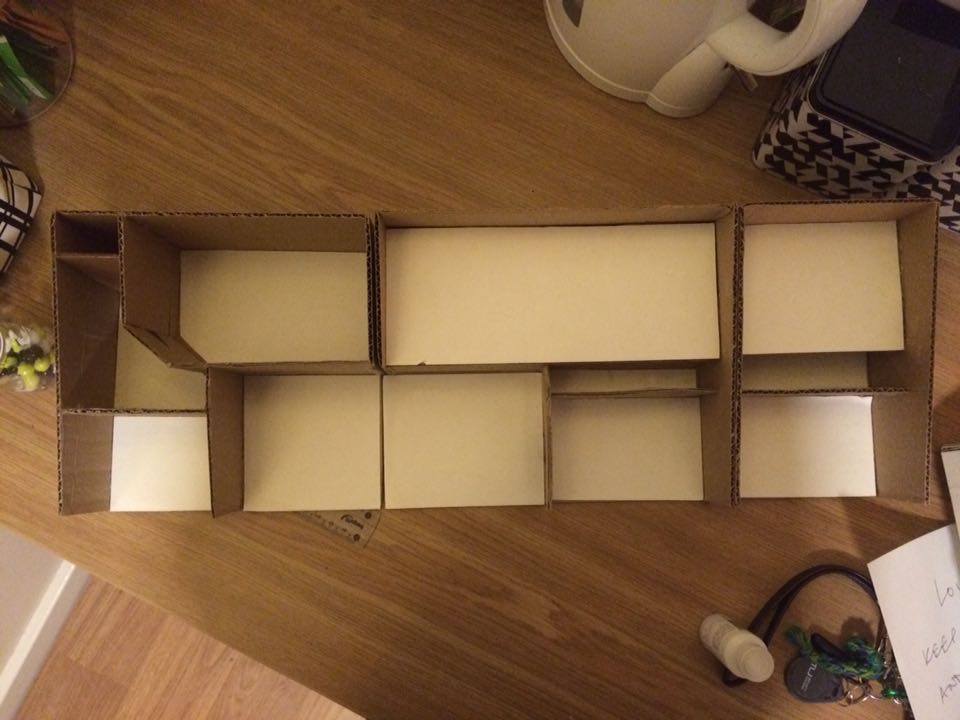
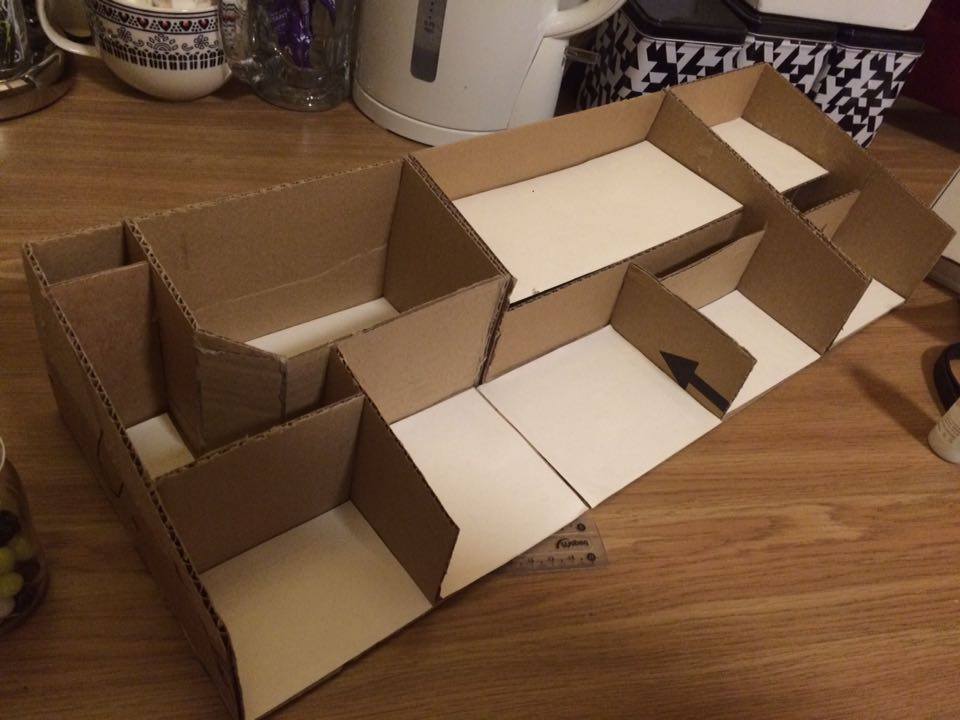
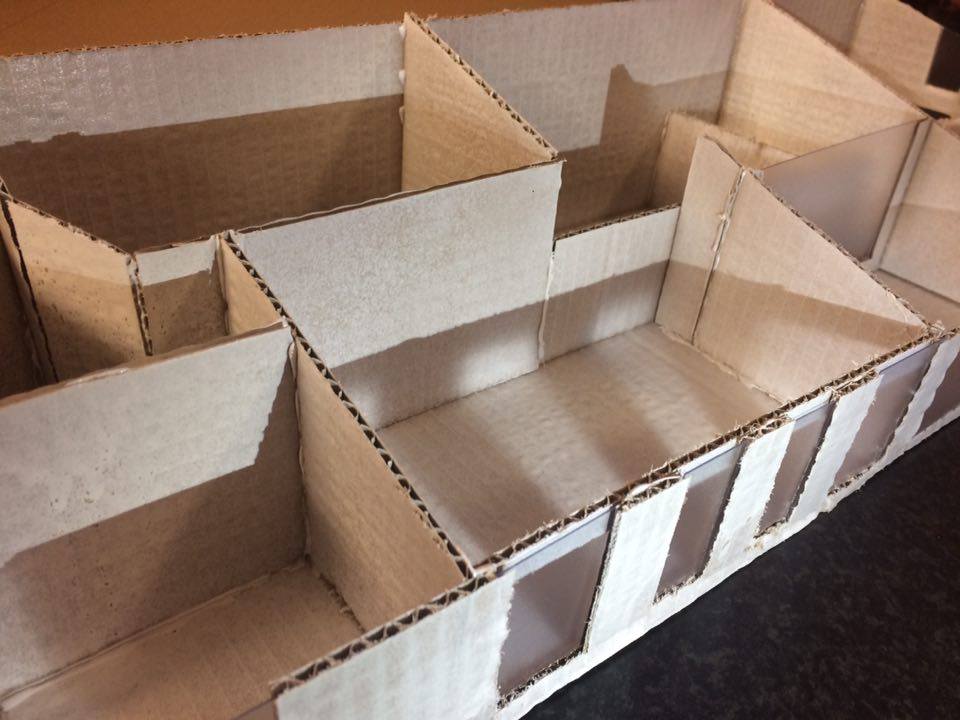
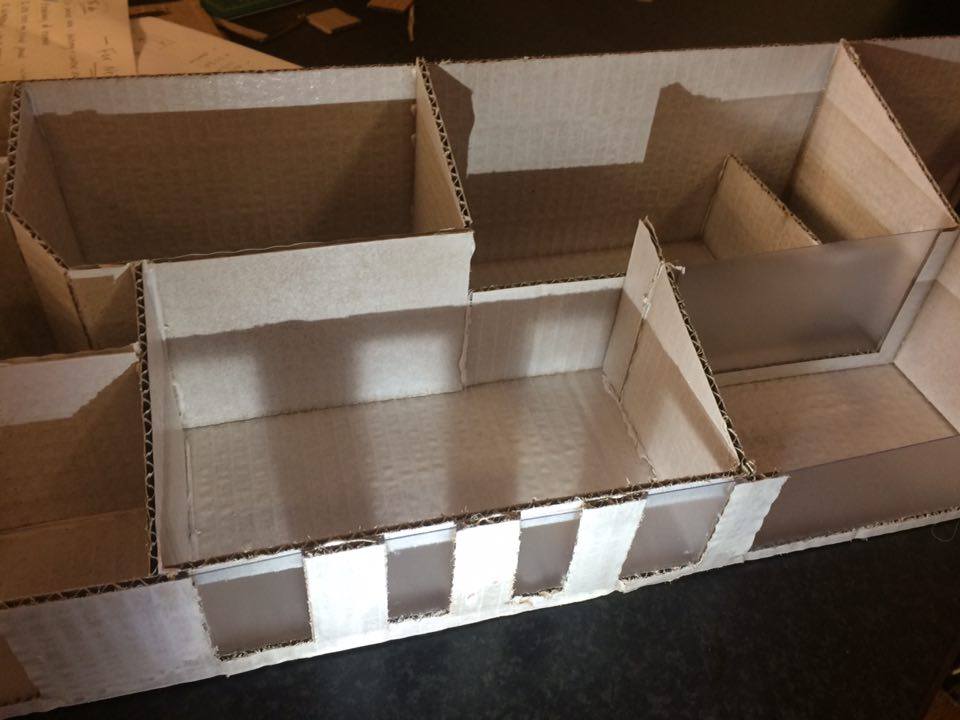
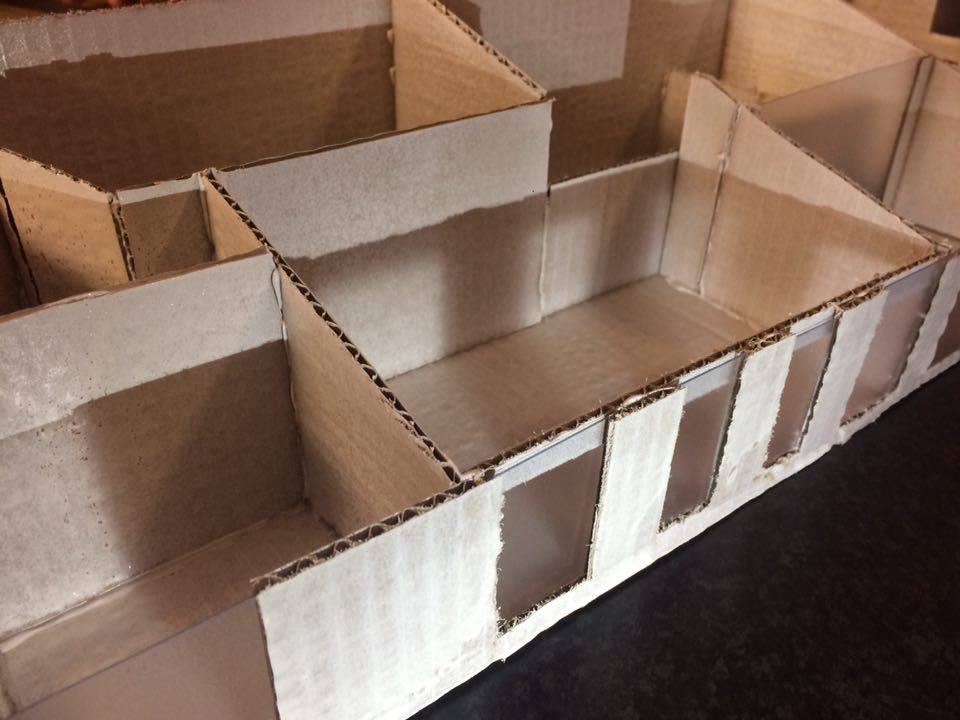
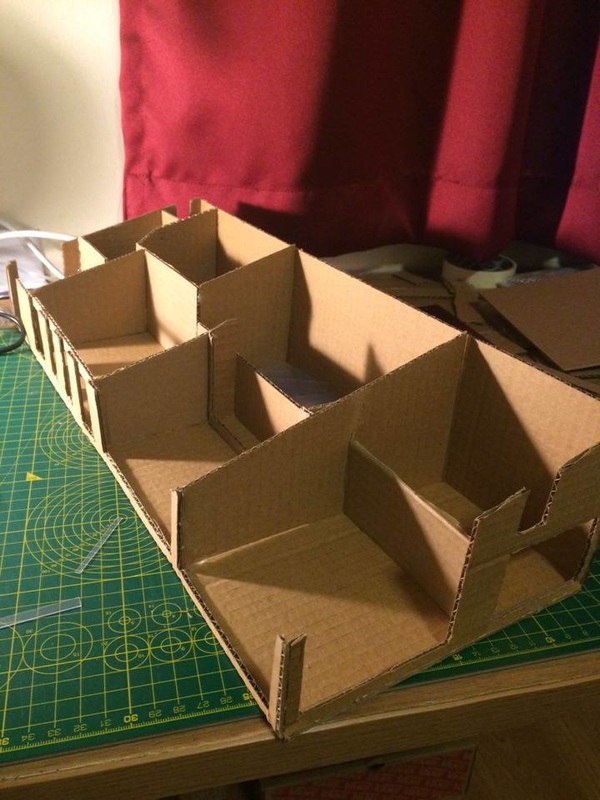
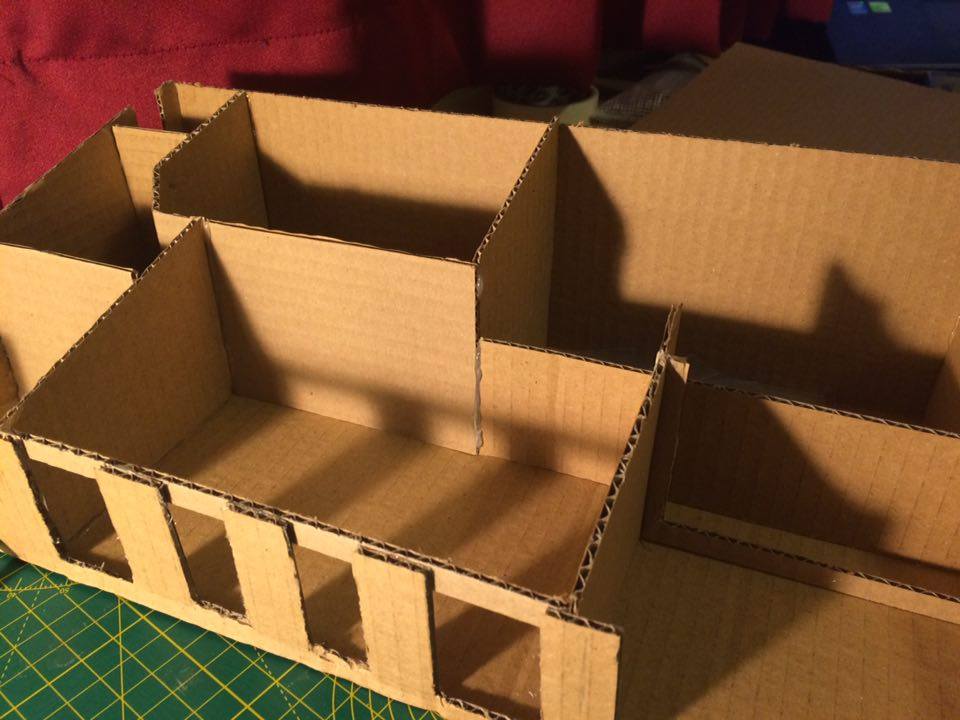
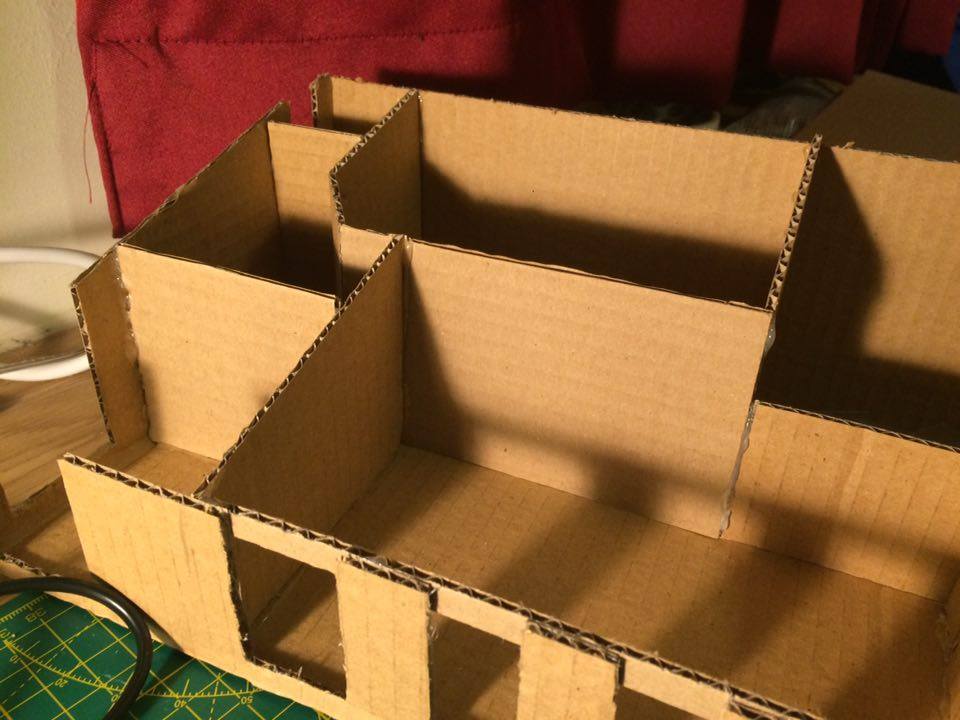
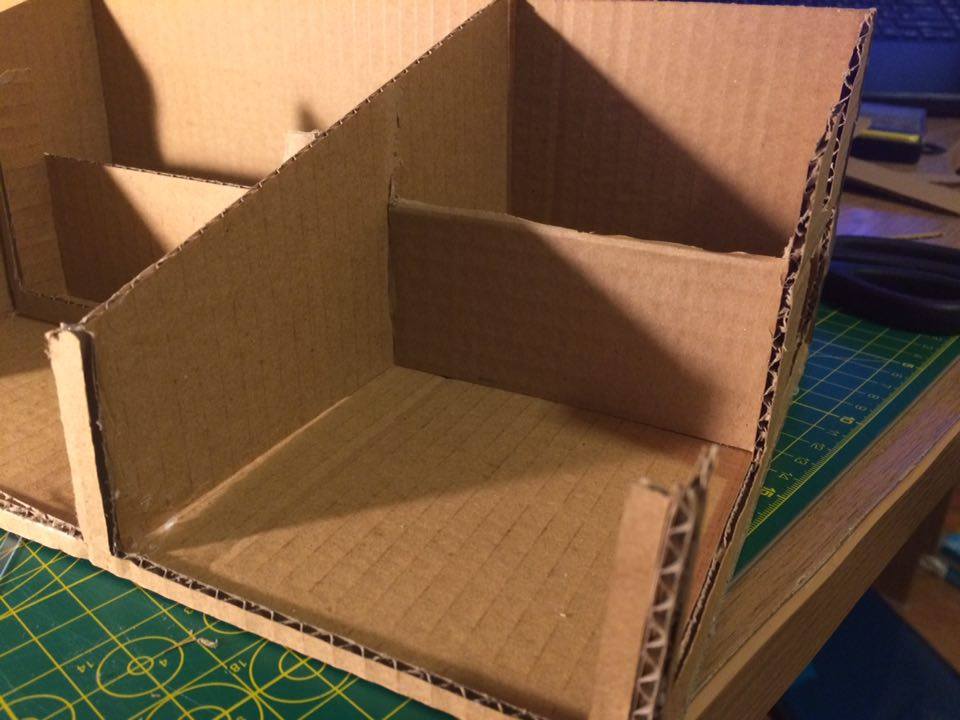
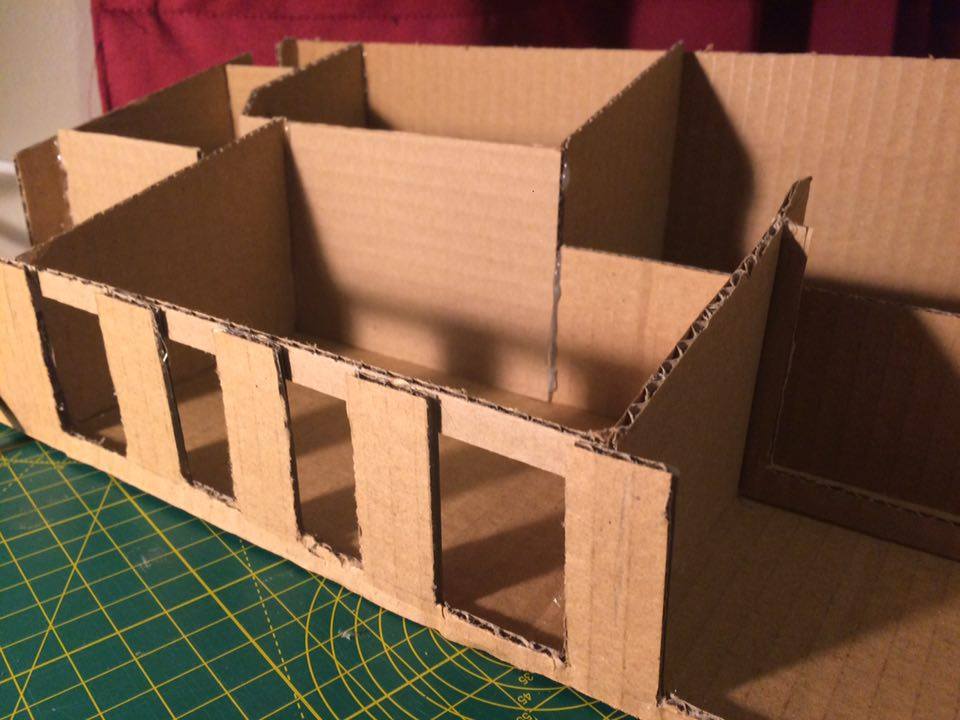
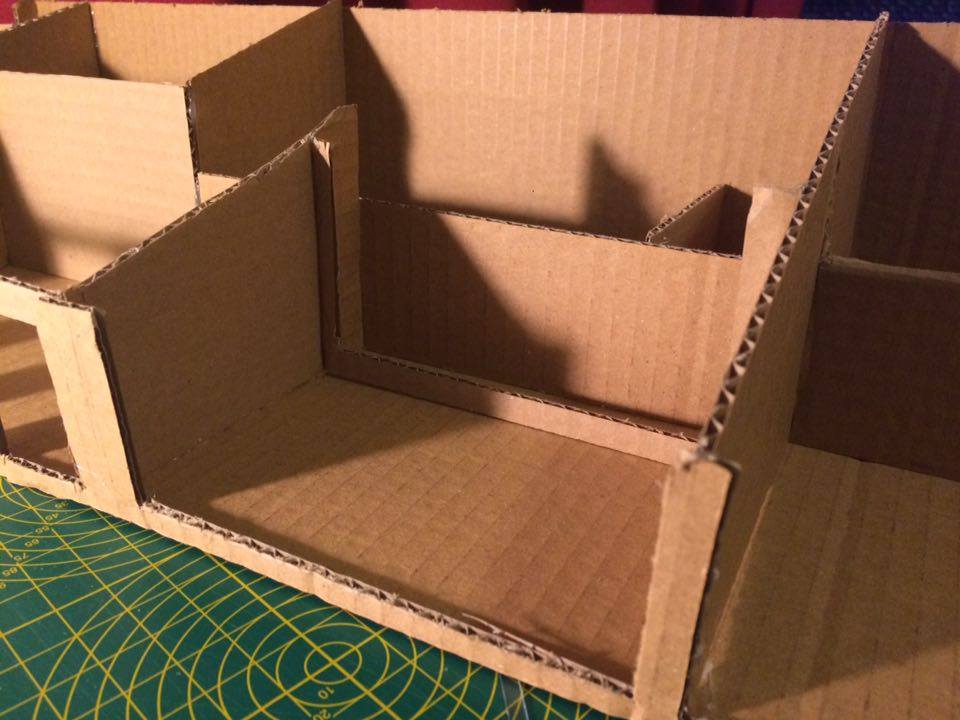
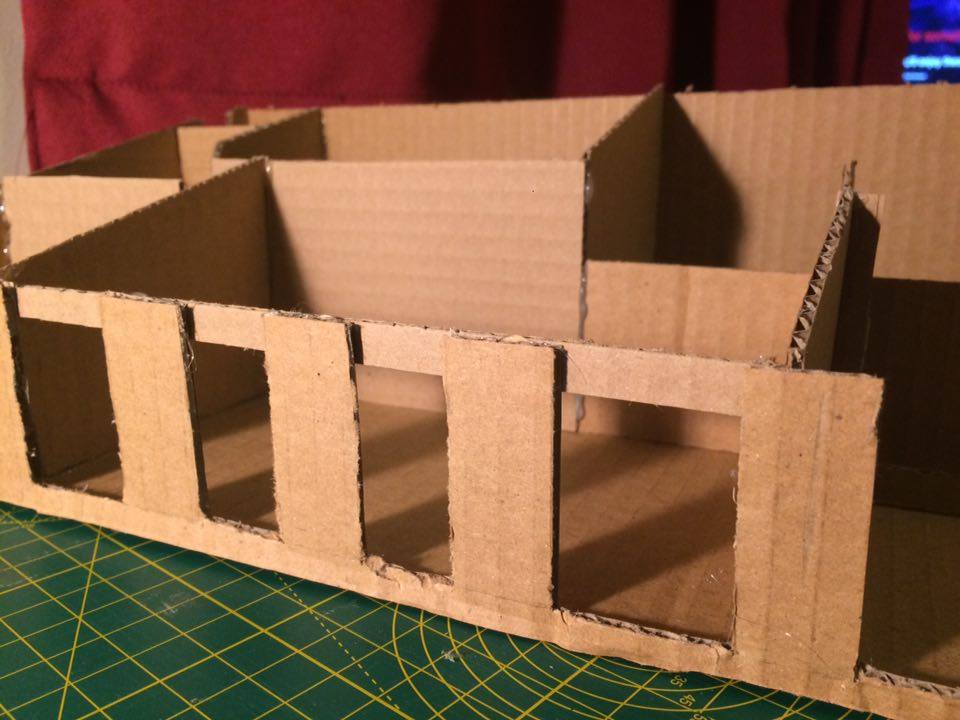
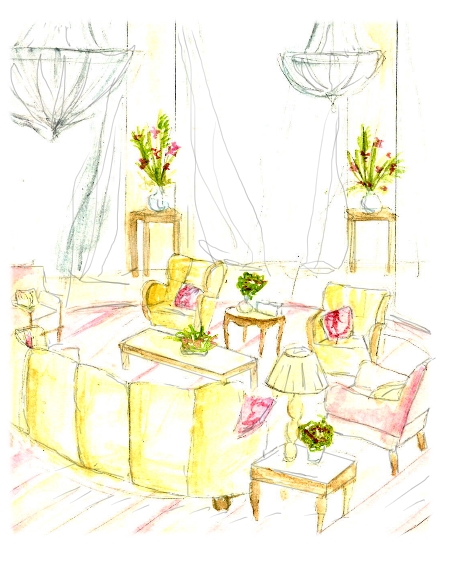
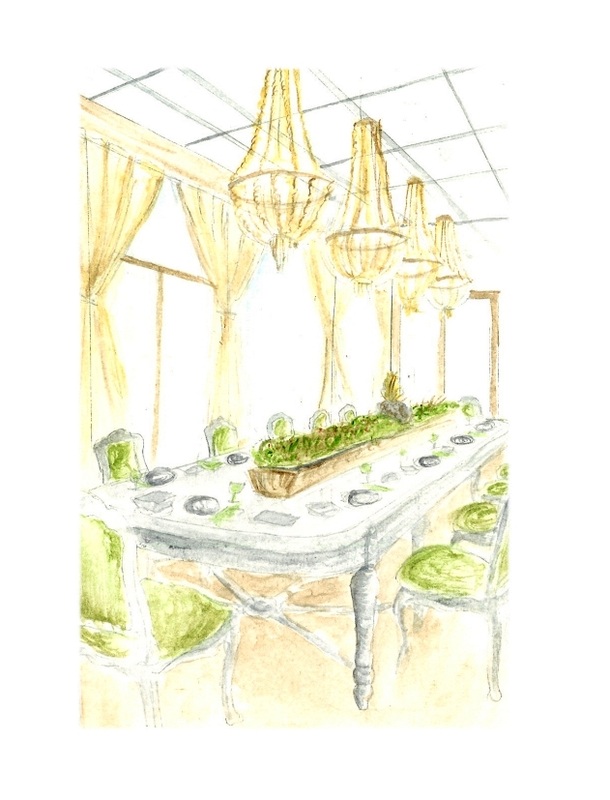
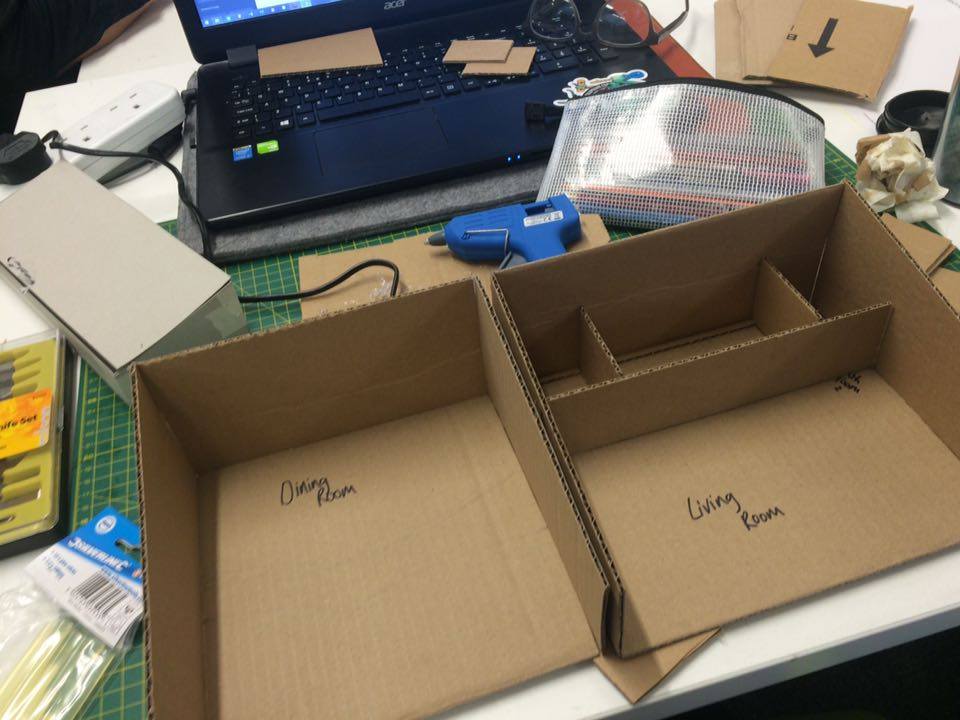
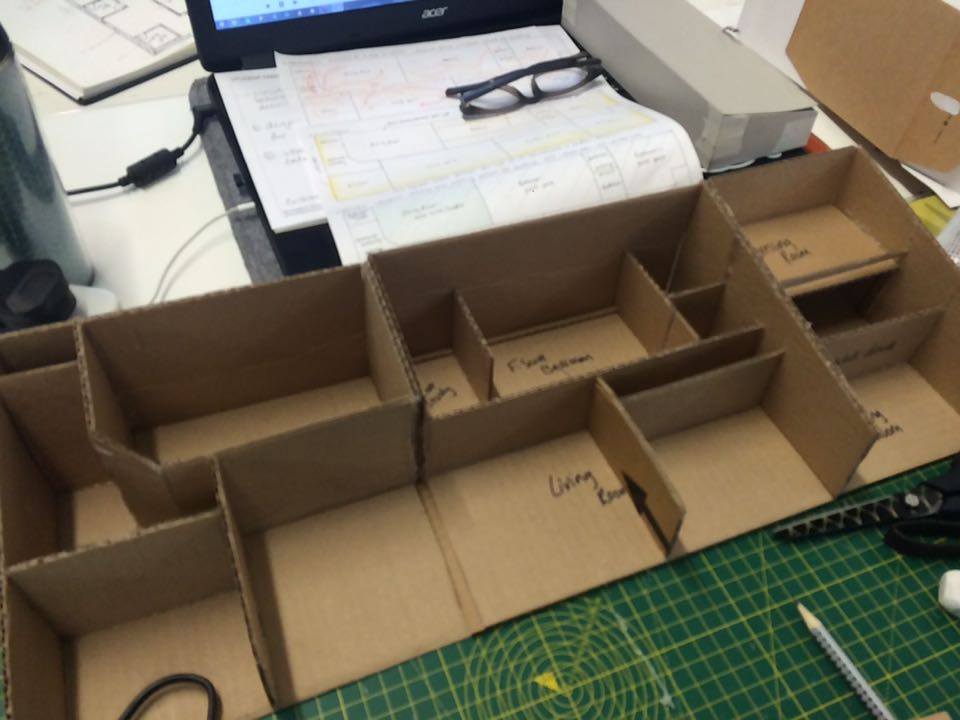
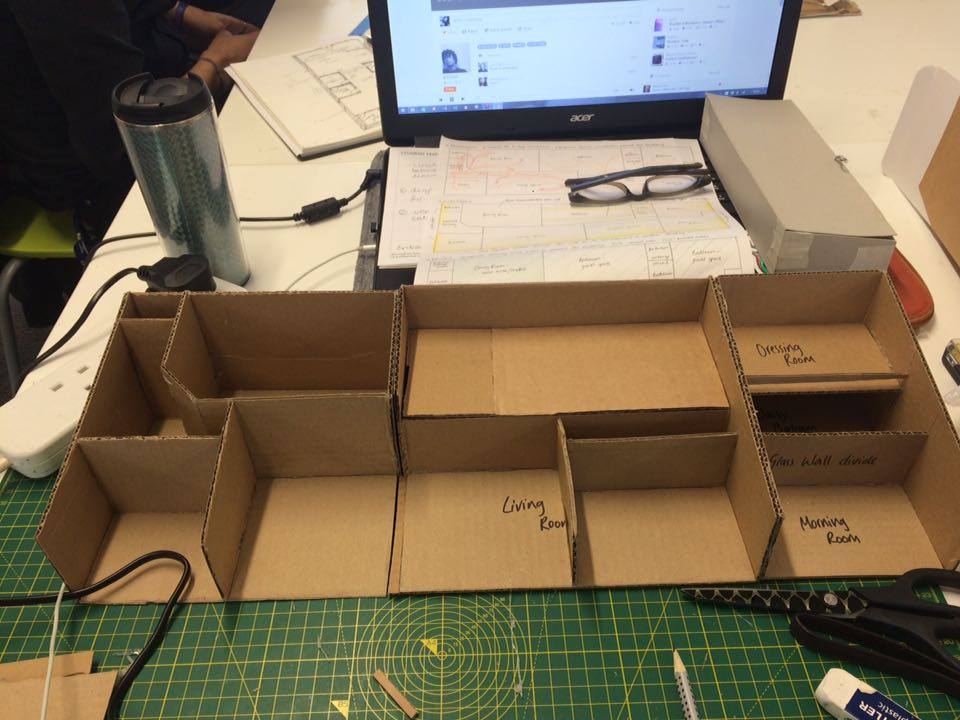
These images show a range of different sketch models I've created throughout the past weeks they test light, materials, scale and arrangement of rooms. I've made 5 models so far and then I'll create my final 1:20 model for presentation. As part of the internal representation I created some illustrations of the inside of my building showing some of the rooms. I drew them with a perspective so you can get a sense of the size but they're not to scale currently. I've kept to a certain colour scheme that matches the 1920's Gatsby book influence. I like the colours I've used and especially the garden room is a prospect I'm looking forward to modelling and creating for the presentation.
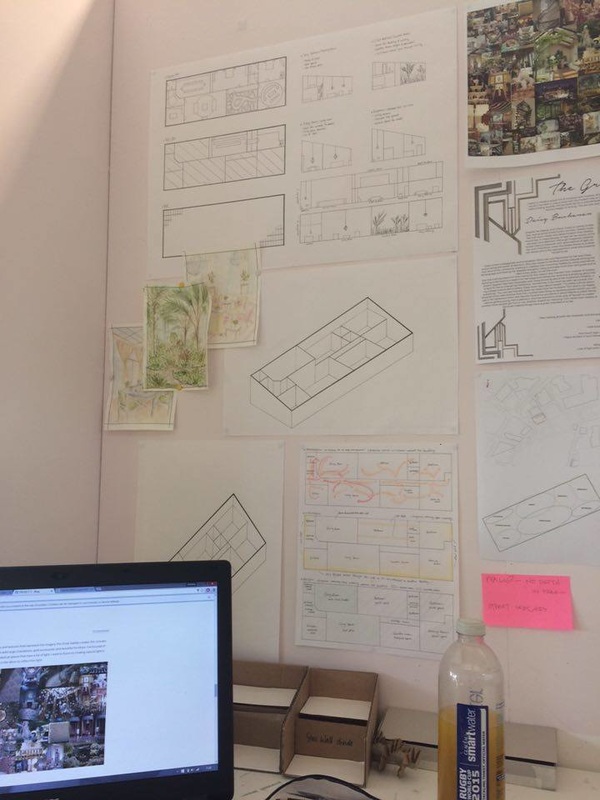
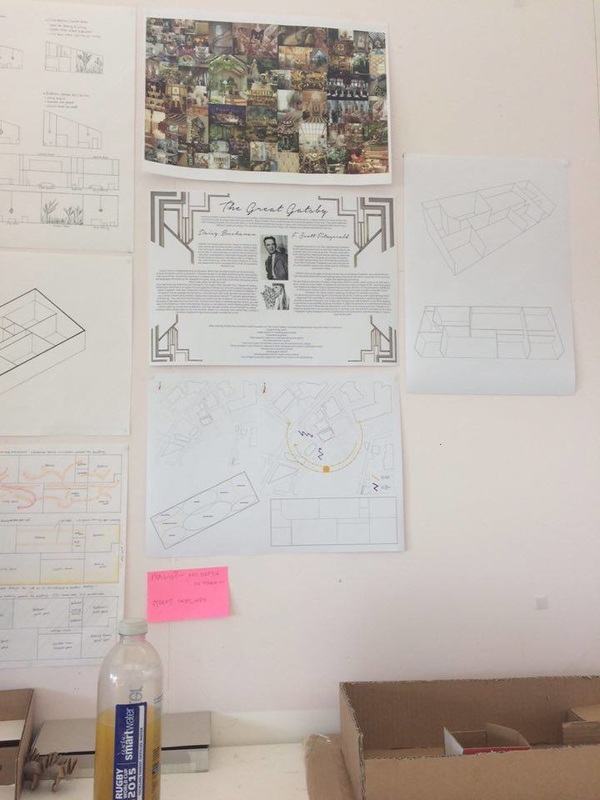
On Friday's session we had a review of all the work we have done so far towards our project. I printed off all the work I've done so far and generally the comments were good, I just need to work on the line thickness' of some drawings to stop them becoming diagrams. You can see below I pinned up orthographic drawings, watercolours, mood boards and my client profile, i'm pleased with the amount of work i've done so far but still have a list of things to continue.
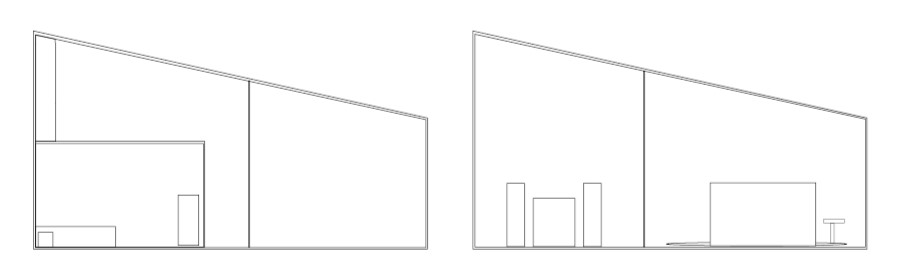
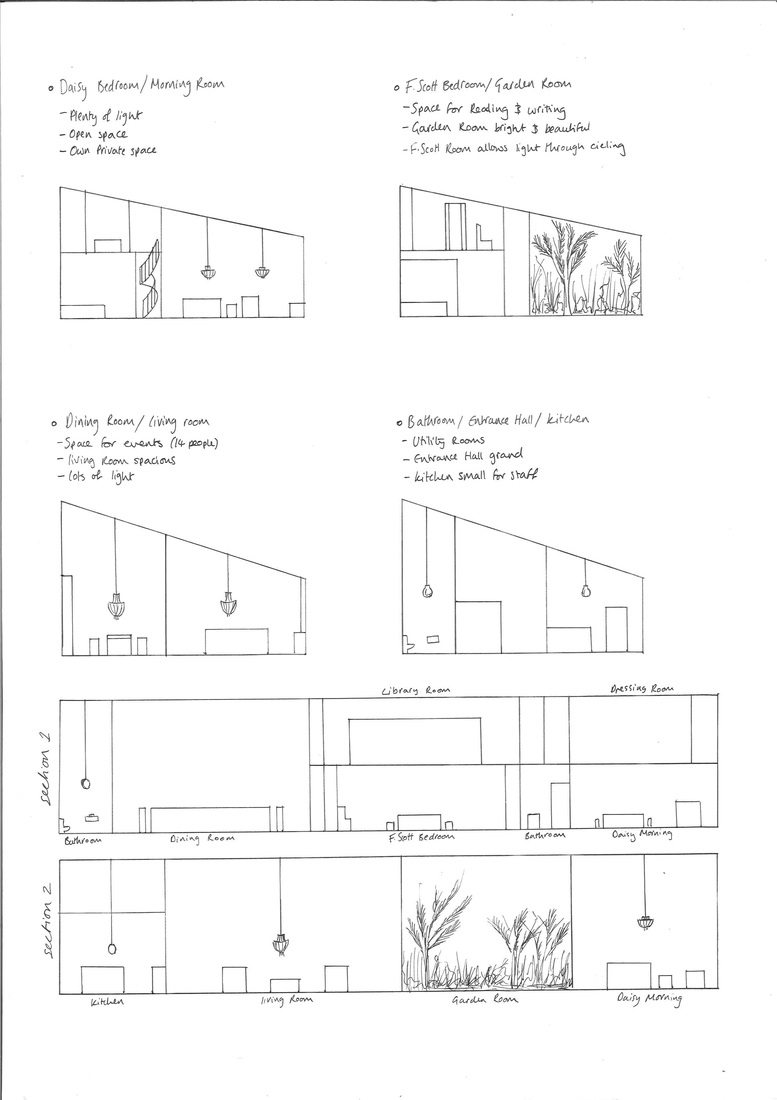
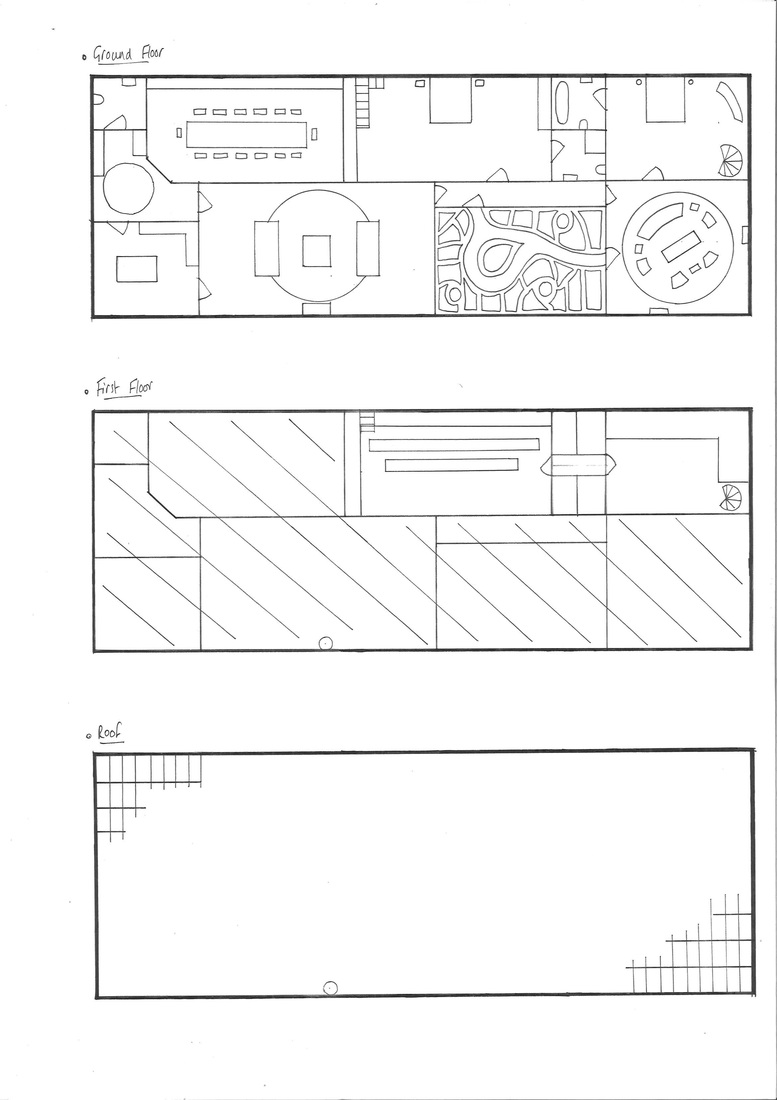
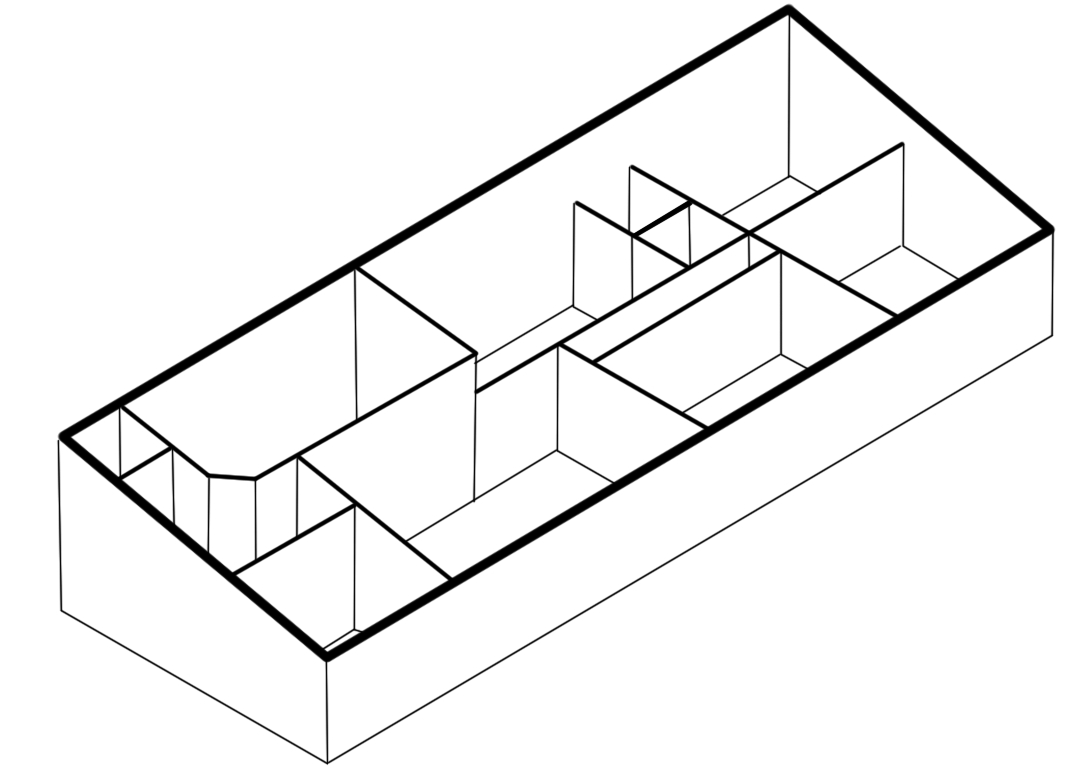
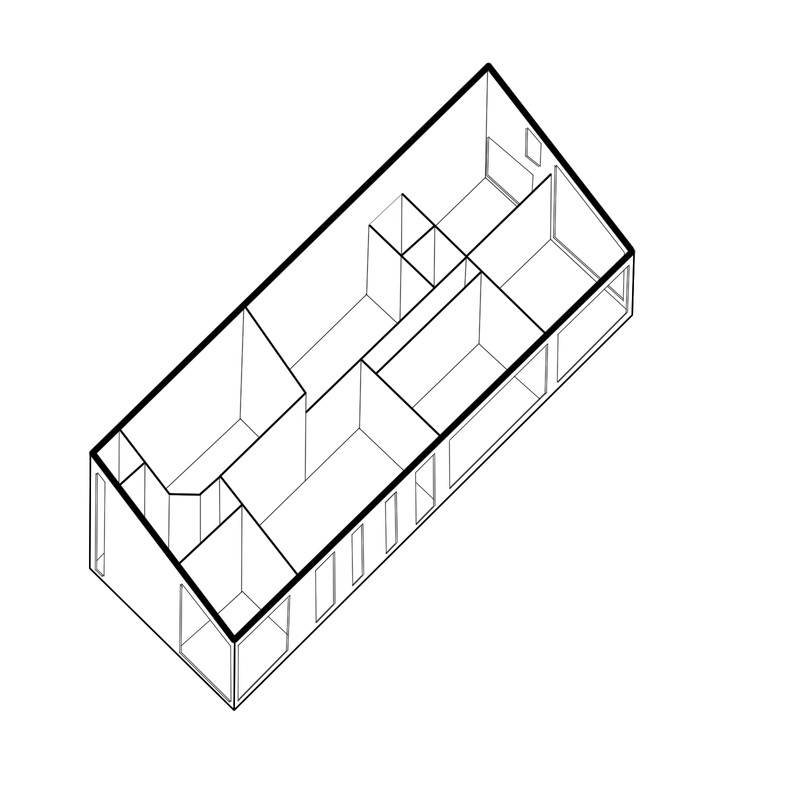
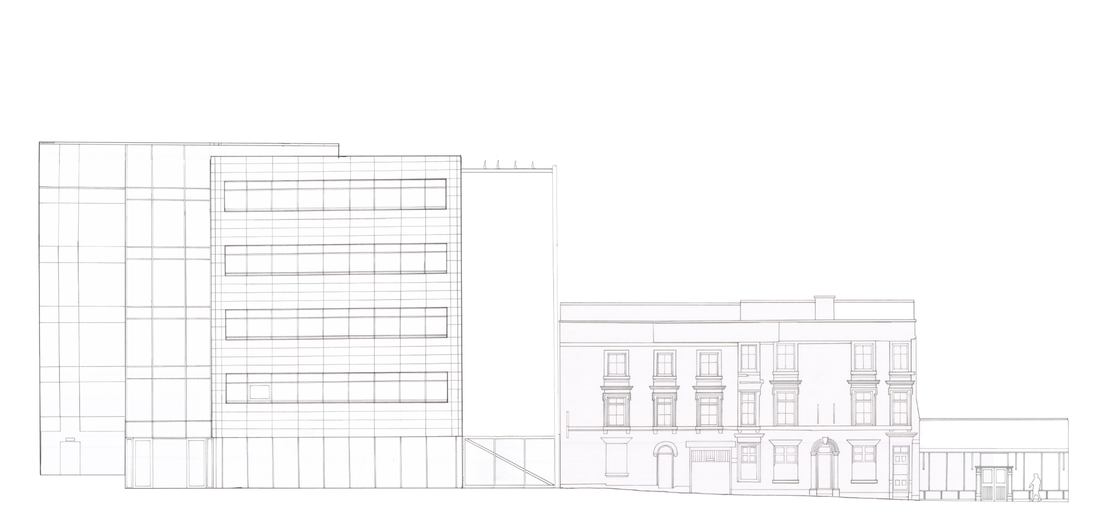
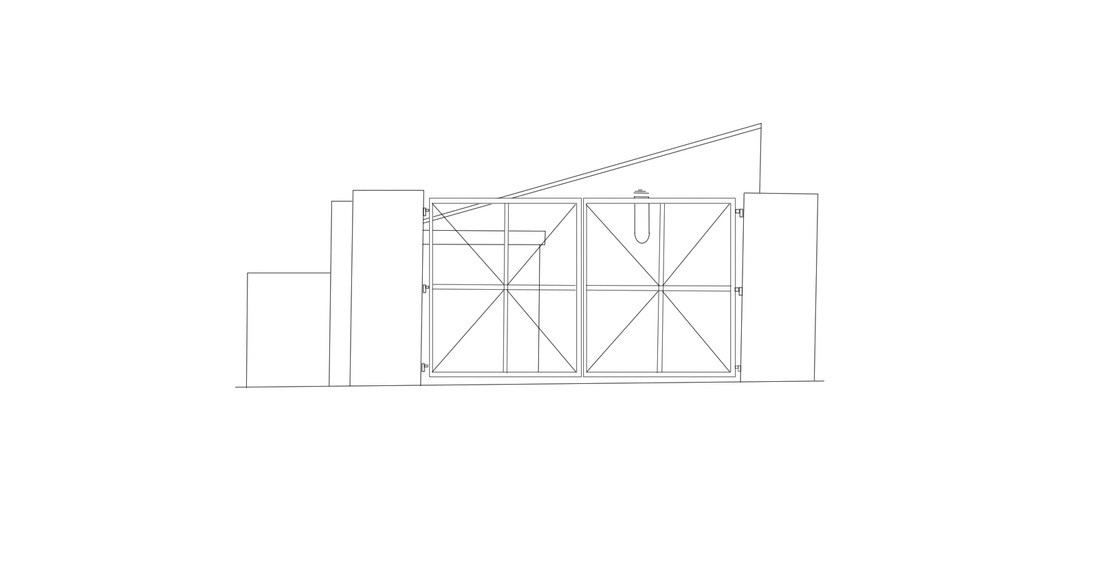
Following a lecture today we learned all about axonometric and isometric drawing and spent the afternoon drawing up our own plans of the site. These drawings can be helpful to show the external appearance of a building such as windows and wall detail and can be used to explain the size of a building. The drawings can be used to explore and communicate the internal spaces of a building, by doing this it’s good to show the internal spaces of the proposed interior I’ve designed. Axonometric drawings are at a 45 degree angle, the angle is important as it gives a different view of the building and allows you to create an accurate drawing. There’s no need to include roof within the axonometric drawings as the space needs to be seen inside the building as you want to show the layout.
Once the height, width and spaces are determined, the original planned sketch lines can be removed in order to see the structure free standing. Once this is finalised, people can be added. Isometric drawings are at a 30 degree angle seen to the left above. You firstly have to make a decision of what you want the drawing to show and this must be to scale, you then draw the lines from each point up, different colours can be useful when attempting to determine which room is which.
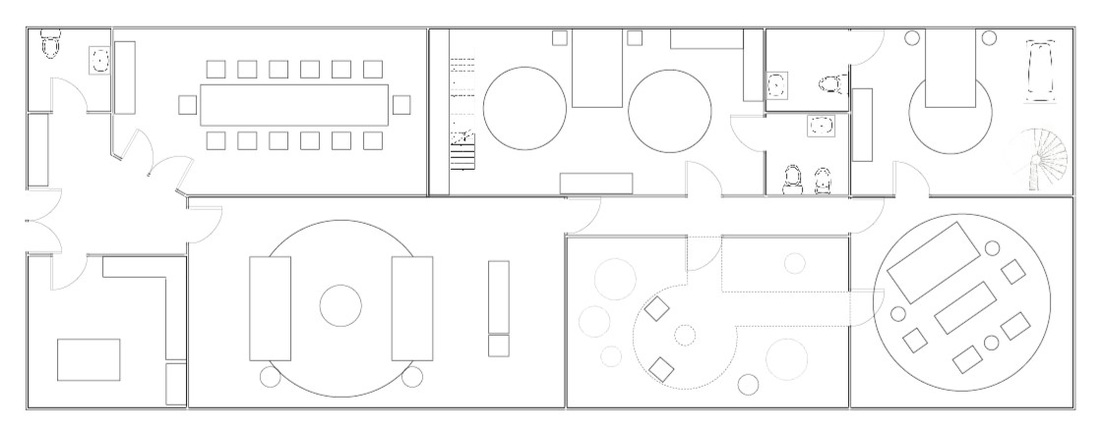
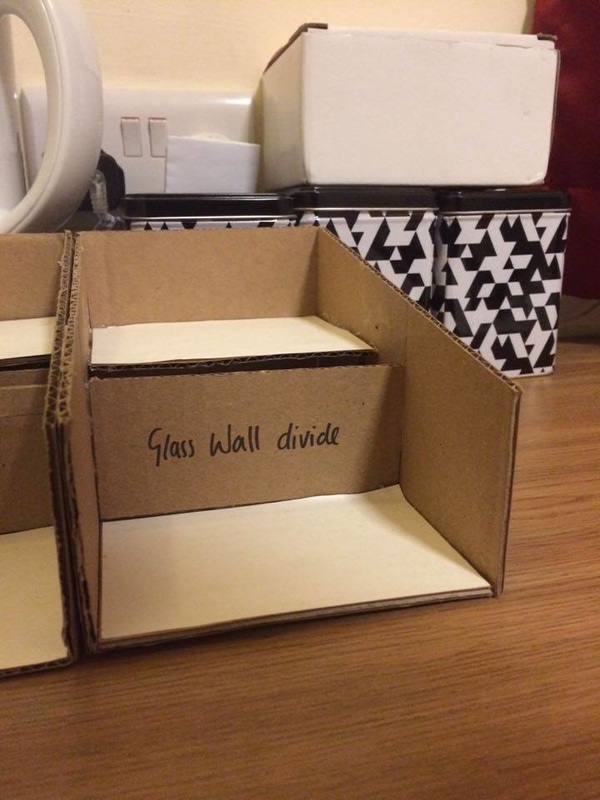
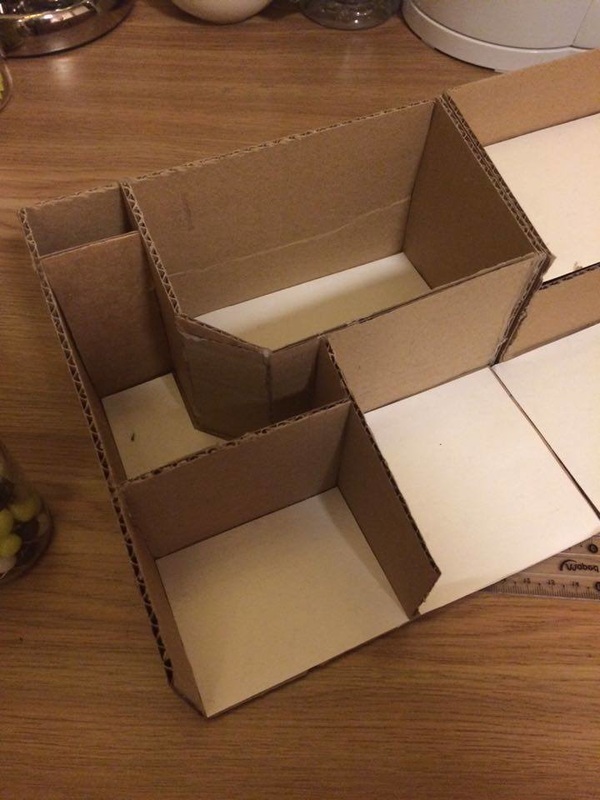
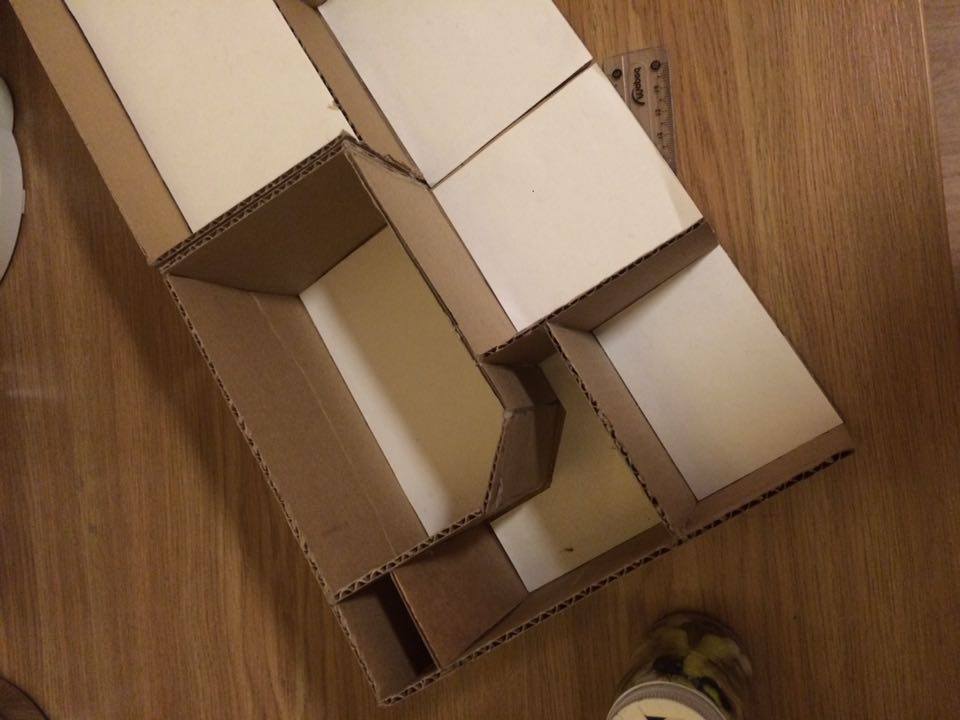
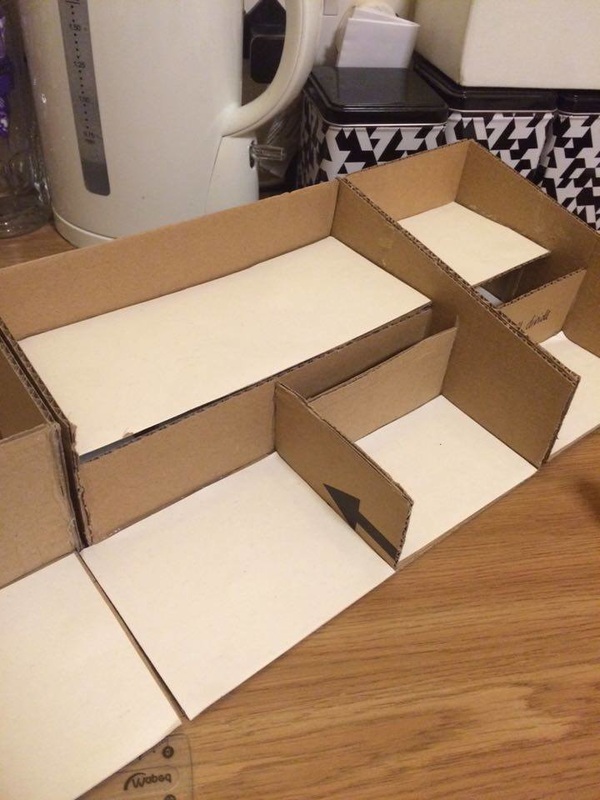
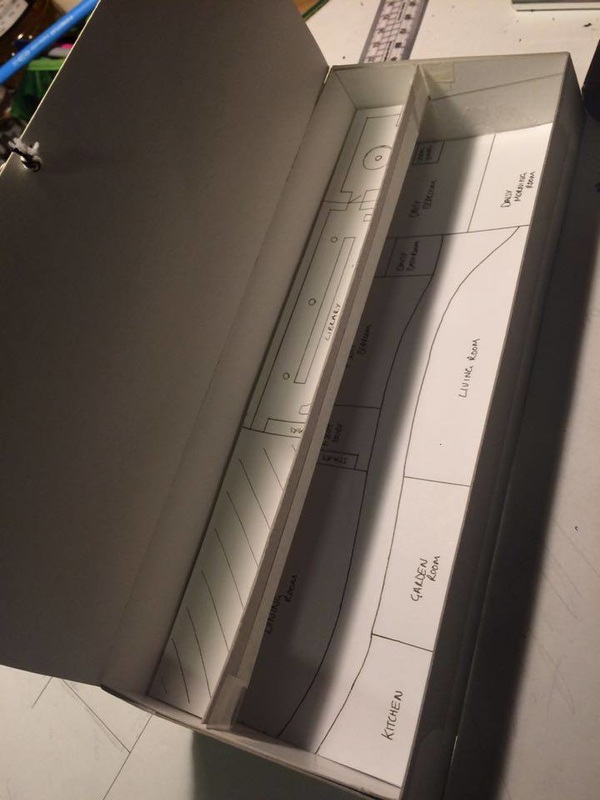
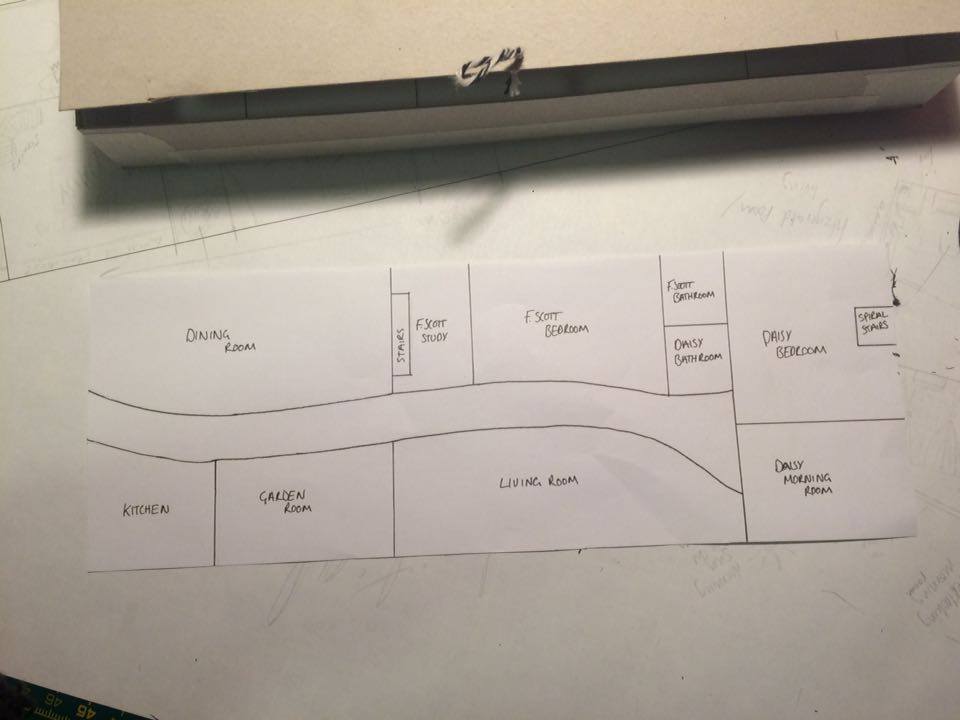
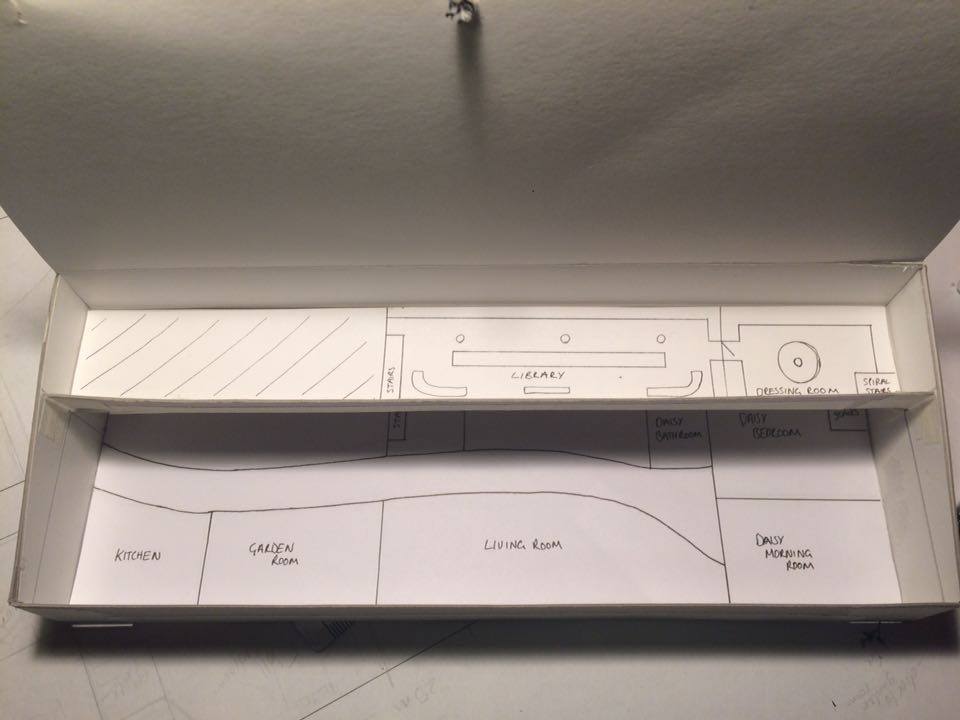
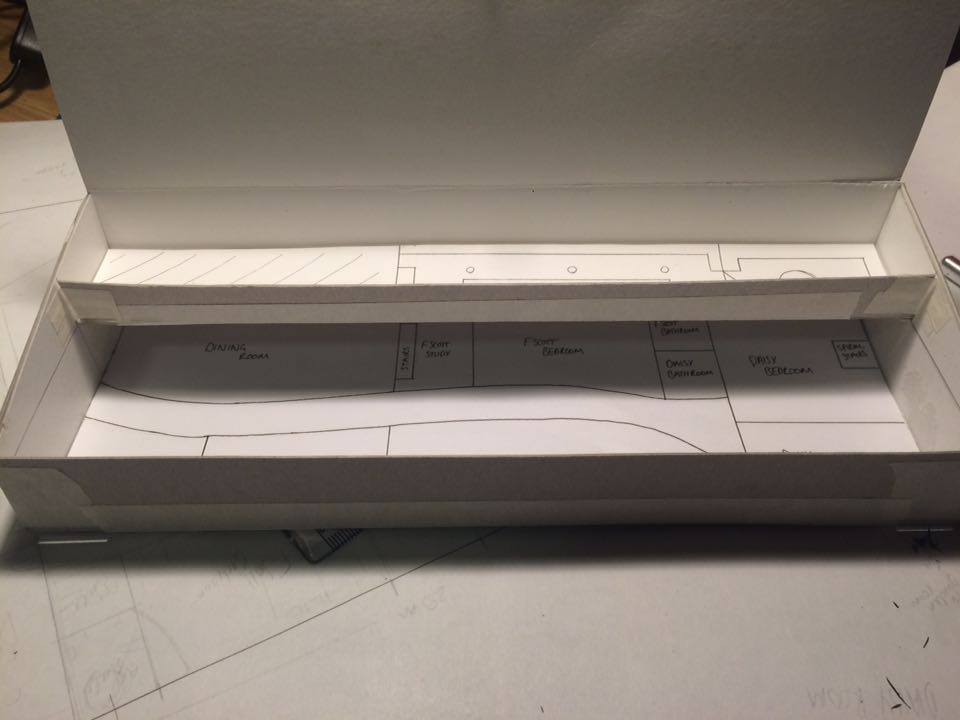
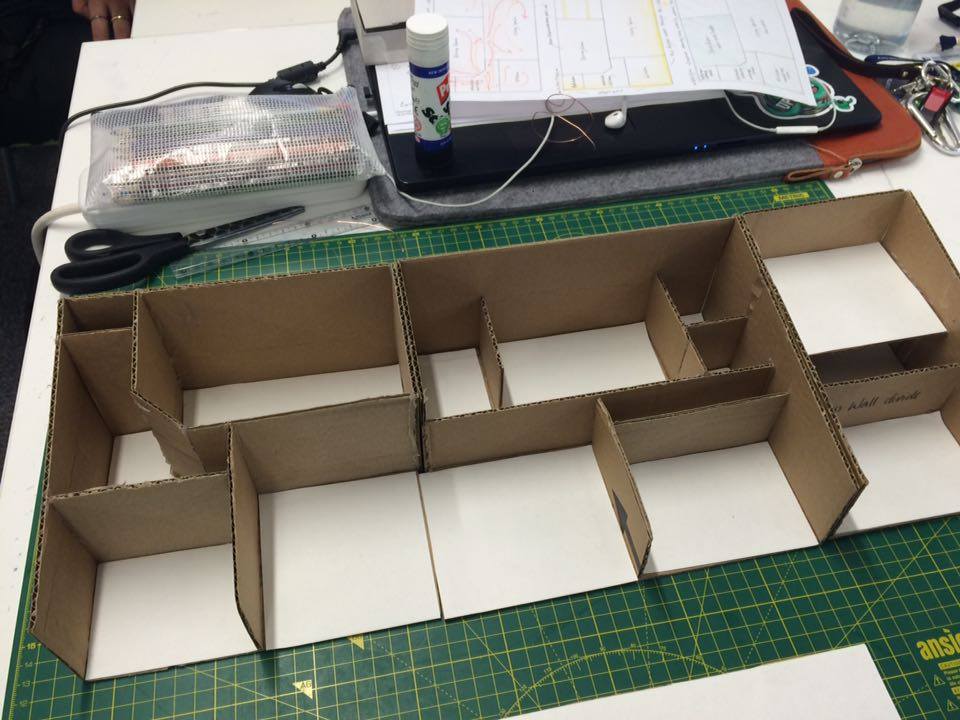
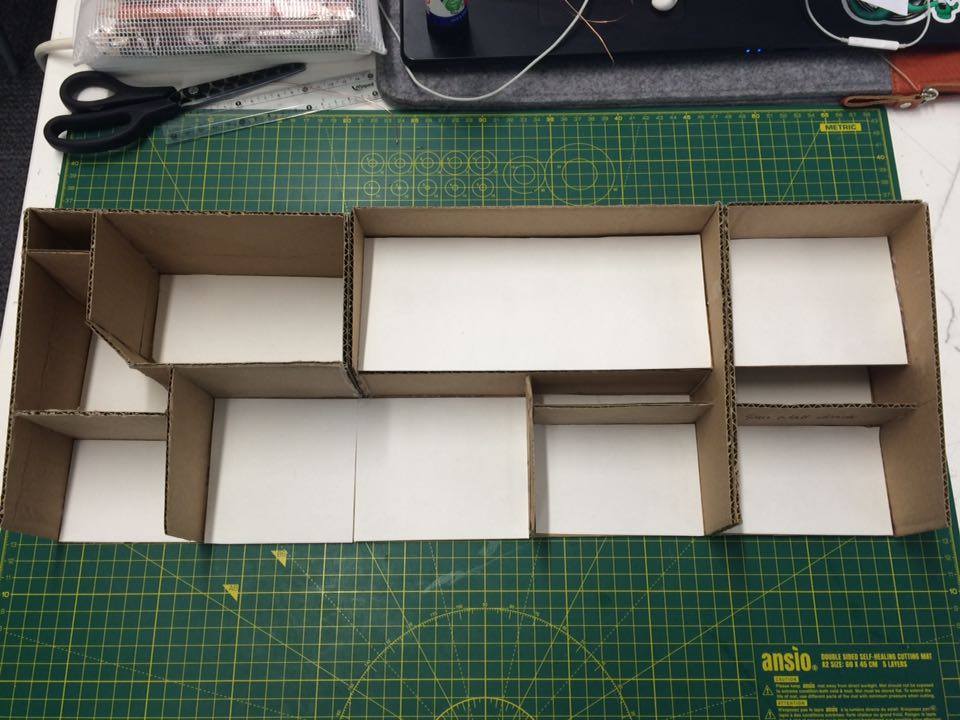
Today's studio session we focused on refining the layout so that we can start to draw accurate representations of the site and the proposal. I began the day with a tutorial where I decided with my tutor that I should do some rearranging of the rooms so that they flow a whole lot better and have a more logical thinking pattern.
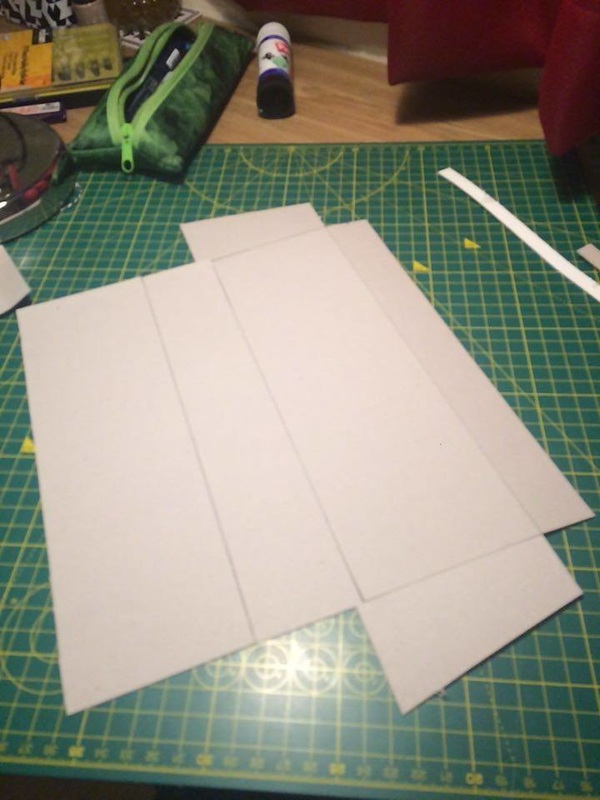
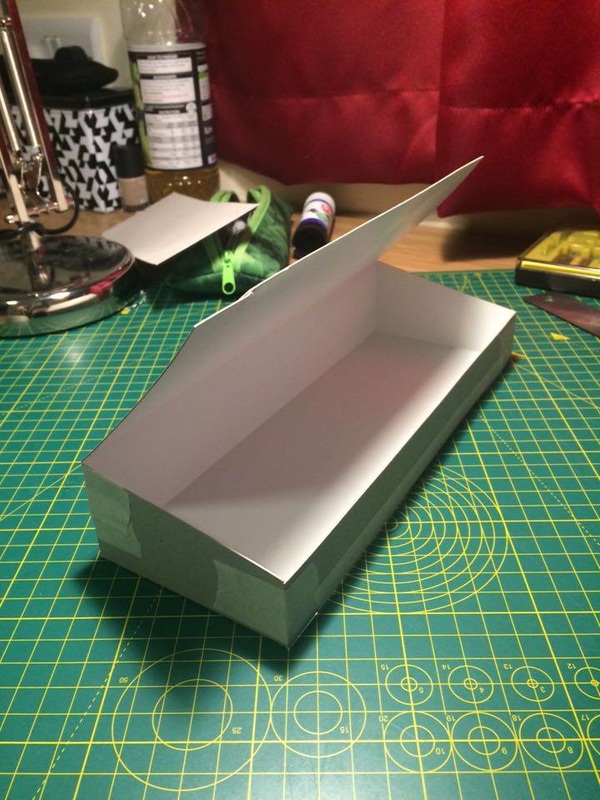
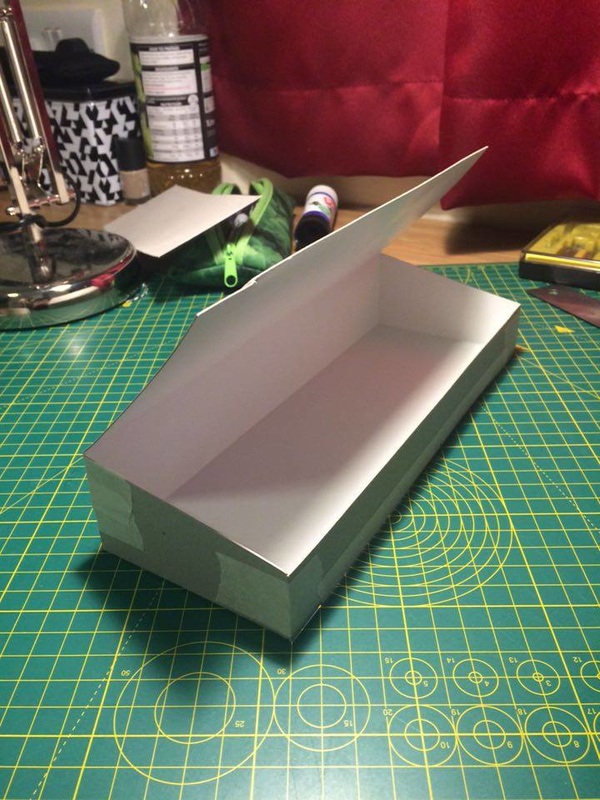
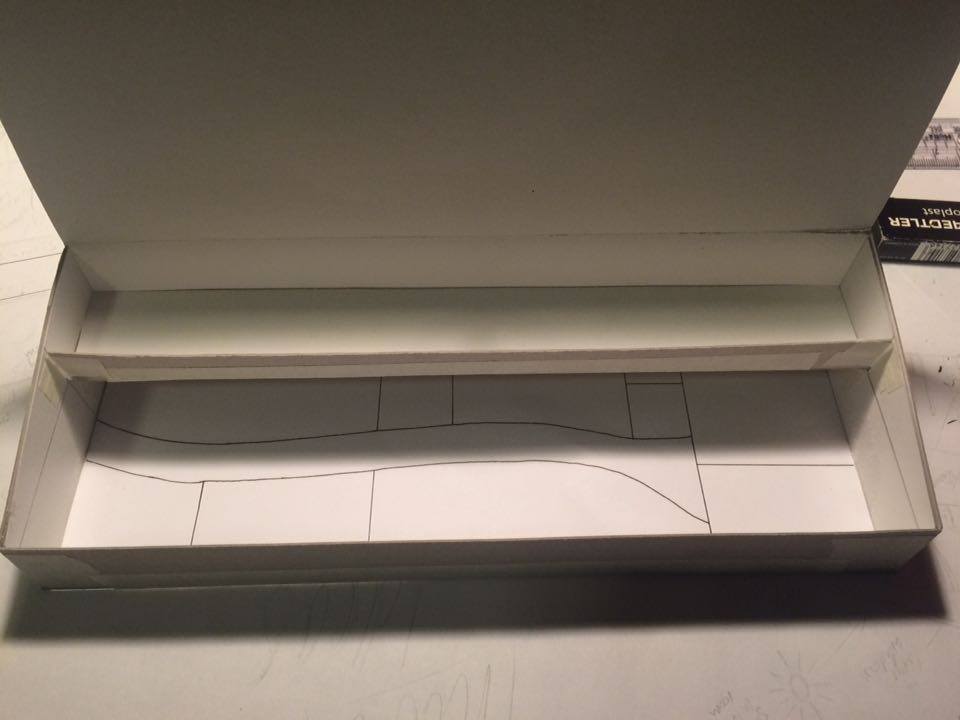
After creating the shell because I'd made some changes I decided to cover all the floors with paper, this worked to my advantage and helped bring out the rooms and create an easy to follow model. I've made use of the height with two floors in the bedrooms and a tall ceiling in the dining/entertainment room as well as the living room which you can overlook from the library.
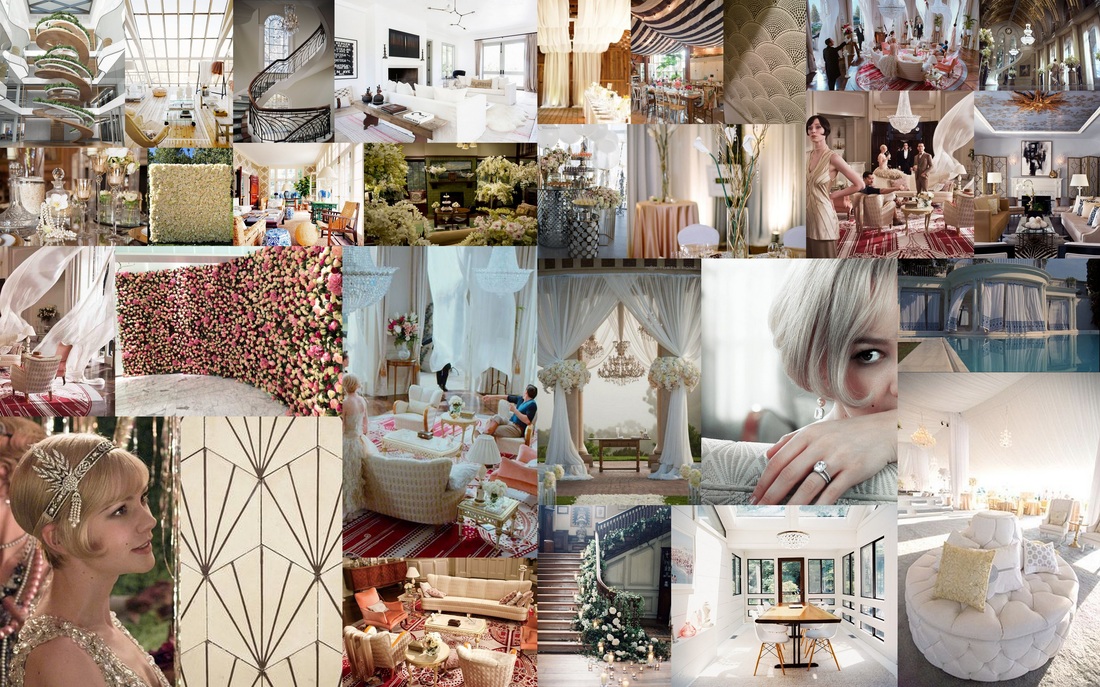
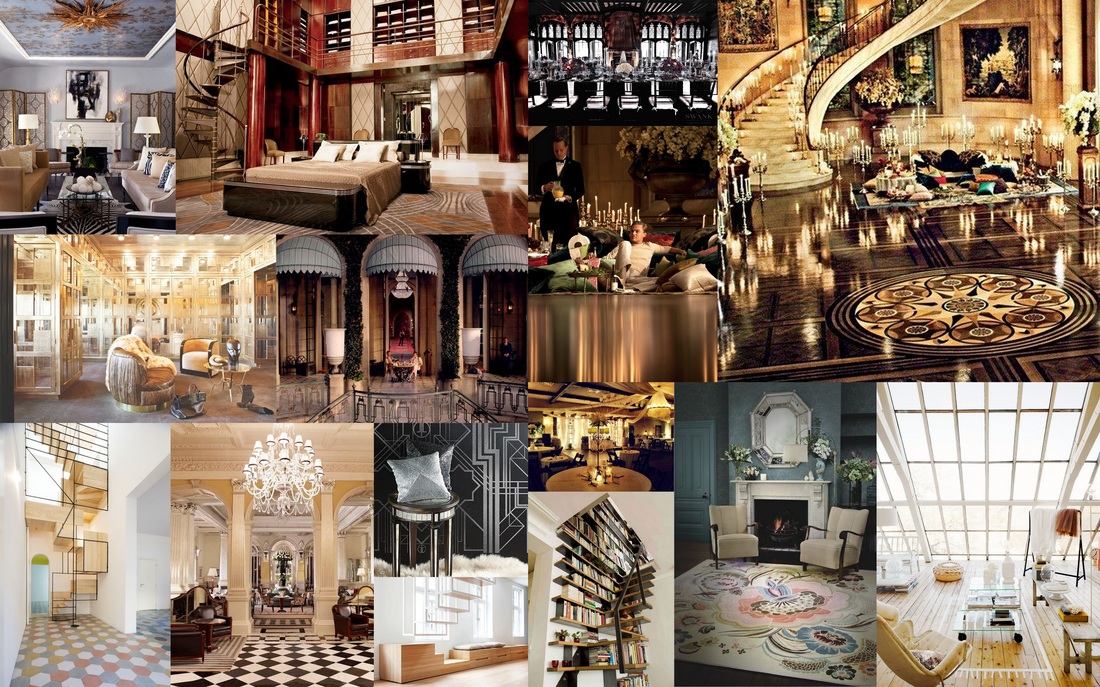
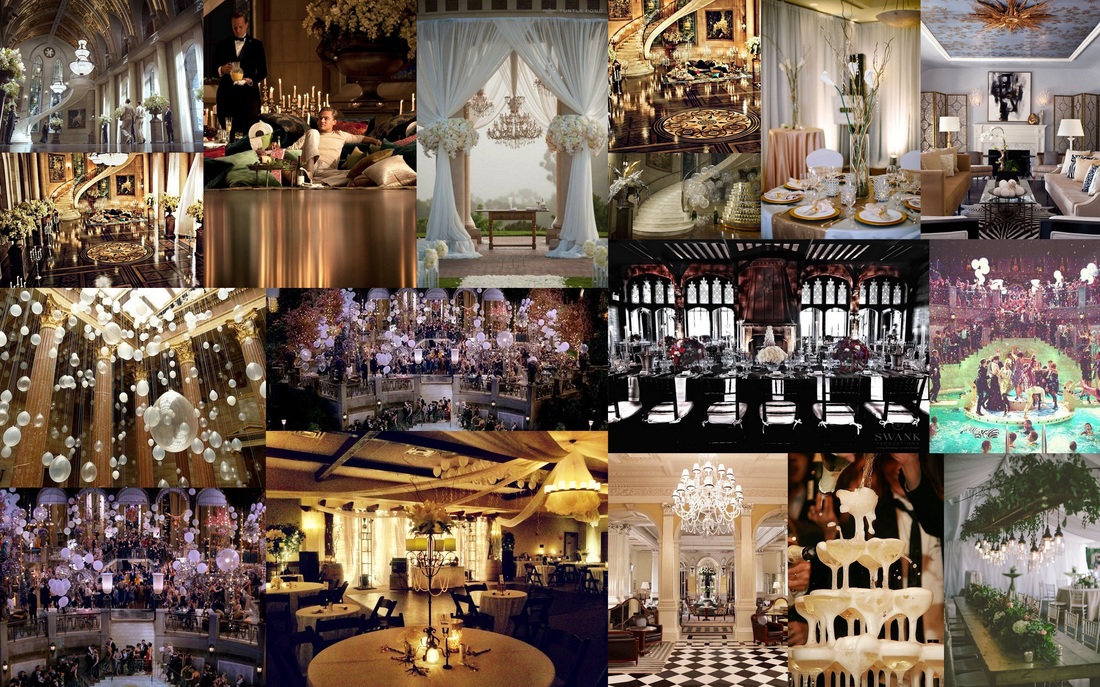
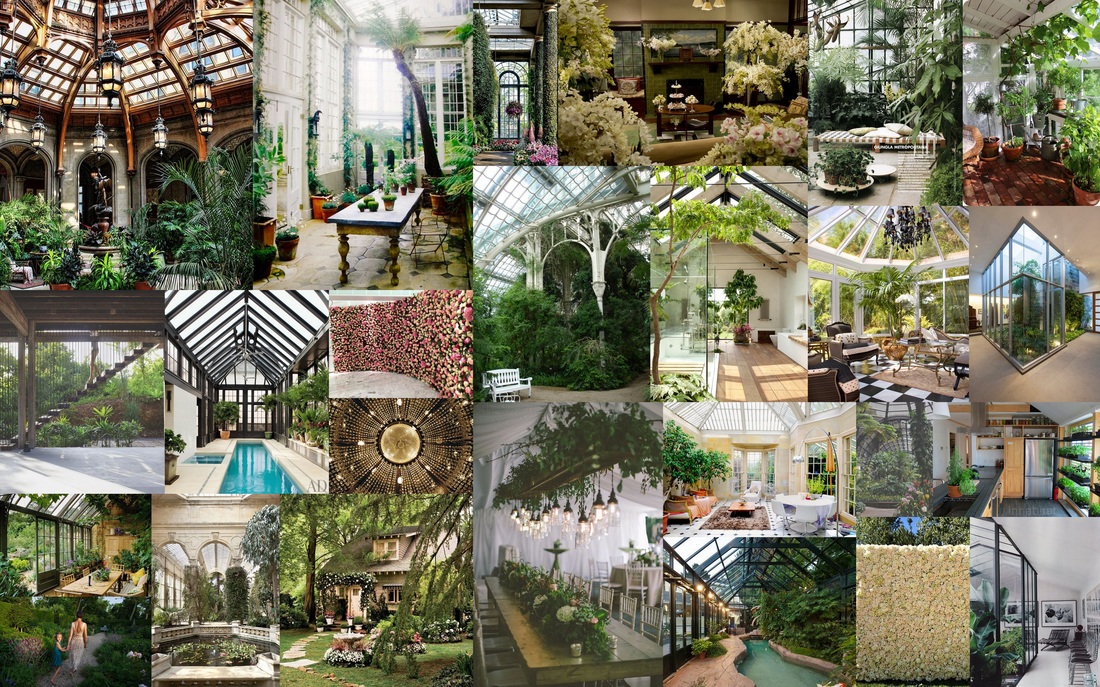
Creating mood boards is the initial start for inspiration and gathering ideas. For me making mood boards helps me decide colour schemes and the kind of objects I want to put in my space. Making individual boards for each room will help enable me to create rooms tailored for certain people of activities.
|
AuthorLevel 4 Architecture student, BCU. ArchivesCategories |


 RSS Feed
